Troubleshooting: When AI Detection Fails in Low Light
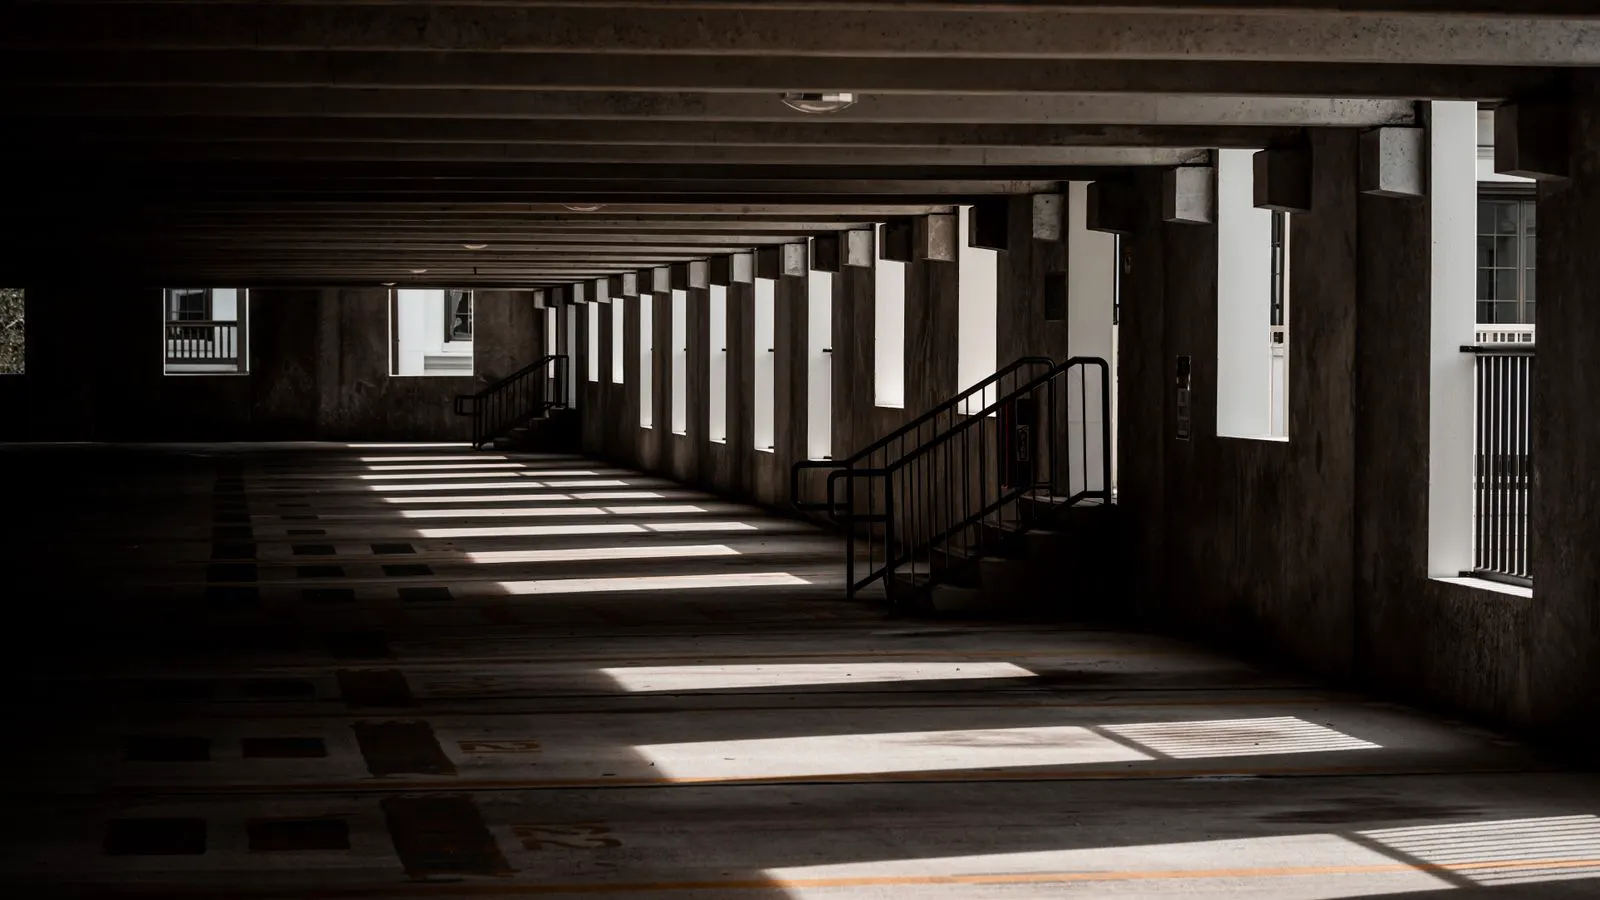
Low light causes object detection failures and false positives in video analytics. This guide lists common symptoms, likely causes, and practical fixes. It also covers prevention tips for stable analytics performance in dim environments.
- Low light reduces contrast and detail, making object detection less reliable.
- Motion detection often triggers on environmental changes like wind or heat shimmer.
- Increase illumination, adjust exposure settings, and tune sensitivity to improve results.
- Use infrared illumination for areas that need reliable detection after dark.
Poor lighting is one of the most common reasons analytics engines misbehave. When object detection fails in low light, the system often misses real intruders or flags shadows as objects. Motion detection behaves differently from object detection, but both struggle when the camera cannot resolve enough detail.
Symptoms of Low Light Detection Failures
Before changing settings, document what you are seeing. Write down the time, location, and what the operator or system logged. Keep notes in your operations log or ticketing system. This record helps isolate whether the issue is a camera problem, a lighting problem, or an analytics configuration problem.
Common symptoms include missed detections at night, false positives from moving shadows, and erratic confidence scores. The camera image may look acceptable to a human, but the analytics engine may not have enough contrast to classify an object. Operators often report that the footage looks fine on the monitor, yet the alert queue remains empty during the hours when the site is most vulnerable.
Some systems report “object detected” but show no bounding box in the playback view. Others show the box but tag the object as a wrong category, such as a person instead of a vehicle. Check the event log for confidence values if your platform exposes them. A confidence score that hovers near the threshold indicates the model is uncertain. If you see high confidence scores on empty frames, the sensor noise is likely being interpreted as a solid object.
Likely Causes and Fixes
The table below covers the most frequent causes. Match the symptom to the likely cause, then apply the fix. If the symptom persists after one fix, move to the next row.
| Symptom | Likely cause | What to do |
|---|---|---|
| Missed detections after dark | Camera exposure is too short, causing low image brightness | Increase exposure time and check ISO settings in the camera menu. Enable night vision if available. |
| False positives from moving leaves or shadows | Motion detection threshold is too low | Raise the sensitivity threshold in the analytics settings. Reduce the monitored area to exclude trees and foliage. |
| Object detection tags wrong categories in dim light | Insufficient contrast between object and background | Improve illumination near the detection zone. Add or upgrade lighting to create better contrast. |
| System reports no motion even when people are present | Infrared illumination is off or misaligned | Enable IR illumination. Verify the IR range covers the full detection area. Check for IR cut filter issues. |
| Detection drops during rain or fog | Lens contamination or atmospheric scattering reduces image quality | Clean the lens. Increase frame rate if the system supports it. Adjust analytics sensitivity to account for reduced clarity. |
| Confidence scores fluctuate wildly | Camera auto-exposure is changing rapidly with light changes | Lock exposure settings to a manual value. Disable auto-exposure if the environment has stable lighting. |
Camera Exposure and Illumination Settings
Exposure is the first setting to check. If the camera uses a short exposure time, the image becomes dark even if the scene has some light. A long exposure can introduce motion blur, which degrades object detection. Find a balance.
For fixed cameras in a parking lot, try a manual exposure value that keeps the brightest part of the scene from clipping while leaving enough detail in the shadows. If the scene changes throughout the day, auto-exposure may be better, but you may need to narrow the analytics zone to avoid bright sky areas. Consider using a manual preset for the night cycle. Many professional cameras allow you to define a “night mode” exposure that activates when ambient light falls below a specific lux level. This prevents the camera from constantly hunting for a balance between a bright streetlamp and a dark corner.
Infrared illumination changes the picture. IR light is invisible to the human eye but visible to the camera sensor. Many cameras switch from color to black and white when ambient light drops below a threshold. This switch can cause a brief gap in detection. Review the event log around the switch time. If the gap is consistent, adjust the IR cut filter threshold so the switch happens earlier or later, depending on which state provides better resolution for your specific lighting conditions.
If the area is too dark for IR to reach, add supplemental lighting. A small LED fixture near the camera can improve contrast without flooding the whole area. Position the light so it illuminates the detection zone evenly. Avoid placing lights directly behind the camera, which can create harsh shadows. Check the color temperature of the lighting. Warm white LEDs often work well for contrast, but if the area has mixed lighting sources, the sensor may struggle to decide on a white balance, leading to color casts that confuse the classification model.
Tuning Object Detection Settings
Object detection relies on classification models. These models perform best when the input image has clear edges and consistent lighting. In low light, edges blur and texture disappears. The model then guesses more often.
Start by checking the monitored area. If the analytics engine covers the entire frame, it may pick up distant background noise. Crop the monitored region to the area where you need detection. This reduces false positives and gives the model more relevant pixels. For example, if you are monitoring a loading dock, crop the zone to the dock area and exclude the street beyond. This prevents the engine from analyzing moving traffic that is outside your interest.
Adjust the sensitivity or confidence threshold. A lower threshold detects more objects but increases false positives. A higher threshold reduces false positives but may miss small or distant objects. Test both settings for a short period. Compare the event log against recorded video. If you find that the system is missing small objects like bicycles or pedestrians in the distance, lower the threshold slightly. If you are getting alerts for every passing car in a non-critical zone, raise it.
Some platforms let you enable or disable specific object classes. If vehicle detection is working well but person detection fails in low light, consider enabling a higher sensitivity for person detection only. This targeted approach reduces system-wide false alarms. You can also disable classes you do not need, such as animal detection, to reduce processing load and focus the model on the objects that matter for security.
Motion Detection vs. Object Detection in Low Light
Motion detection is simpler and often faster than object detection. It looks for pixel changes between frames. In low light, sensor noise increases, and small changes in the image can trigger motion events. This leads to false positives from heat shimmer, falling leaves, or insects.
Object detection is more expensive to run because it processes each frame through a classification model. It also requires more image quality. If your site has limited bandwidth or processing power, object detection may run at a lower frame rate in low light. This can cause missed detections if an object moves quickly.
Use motion detection for broad coverage and object detection for critical zones. For example, motion detection can cover a long fence line, while object detection focuses on a vehicle gate. This hybrid approach balances cost and accuracy. Motion detection is also more resilient to lighting changes because it does not rely on the model recognizing specific shapes. However, it cannot tell you if the movement is a person or a dog.
Prevention Tips for Stable Analytics Performance
Prevention is easier than troubleshooting after a missed event. Start with the camera placement. Mount the camera so it looks slightly downward at the detection zone. This reduces glare from headlights and improves shadow visibility. Avoid mounting cameras directly in the path of strong sunlight during the day, as the auto-exposure will struggle to maintain detail in the shadows.
Plan the lighting before deployment. Walk the area at dusk and at night. Note where shadows fall and where light pools are too bright. Use that information to position lights and cameras. If the site is in a high-risk area, consider lighting that activates on motion to reduce power use. Ensure that the lighting fixtures are positioned to minimize shadows cast by the objects you want to detect. Shadows are the primary cause of object detection failures in low light.
Run a baseline test after installation. Use the Checklist: Verifying Analytics Performance Before Deployment as a reference. Test detection with different object types at different times of day. Record the results and store them with the site documentation. If you are using a third-party service provider, include these test results in the acceptance criteria for the project.
Review the analytics settings quarterly. Lighting changes, vegetation growth, and seasonal daylight shifts can degrade performance. A quick review of the event log and a spot check of playback will catch issues before they become problems. Check for lens smudges or water spots that accumulate over time. A dirty lens can mimic the symptoms of poor lighting, causing the system to think the exposure needs adjustment.
When to Escalate or Replace Equipment
Some issues cannot be fixed with configuration. If the camera sensor is defective, the image will remain noisy even after cleaning the lens. If the IR emitter is broken, the image will not brighten in the dark. Check the camera’s built-in test mode if available. Look for pixels that are stuck on or flickering. These defects are common in cameras that have been exposed to extreme temperatures or moisture.
If the analytics engine is too weak for the camera resolution, object detection will fail in low light. A high-resolution camera sends more data to the analytics processor. If the processor cannot keep up, detection frames get dropped. In this case, reduce the camera resolution or add more processing power. Consider upgrading the analytics server or moving to a cloud-based analytics service if your on-premise hardware is outdated.
Review the Cost of Video Analytics vs. Manual Review to understand where automation pays off. In some low light environments, manual review of flagged events may be more reliable than relying on an engine that struggles with poor lighting. If the cost of false alarms leads to unnecessary operator fatigue, consider reducing the automation level in low light zones and relying on human review for those specific areas.
Frequently asked questions
Why does object detection fail in low light but work in daylight?
Low light reduces image contrast and detail. The classification model needs clear edges to identify objects. In dim conditions, the input image has less information for the model to use.
Can I fix false positives from motion detection without changing cameras?
Yes. Raise the sensitivity threshold, narrow the monitored area, and exclude vegetation from the detection zone. These settings reduce false alarms from environmental movement.
Is infrared illumination always better for low light detection?
Not always. IR improves visibility in complete darkness, but it can create harsh contrast and shadows. Supplemental white or colored lighting may produce a clearer image for object detection.
How often should I review analytics settings?
Check the event log monthly and run a full test quarterly. Seasonal changes, lighting upgrades, and vegetation growth can affect performance. Early review prevents missed detections.
What should I do if the camera image looks fine but detection still fails?
Check the analytics frame rate and processor load. A camera may output a good image, but the analytics engine may be dropping frames or running at a low resolution. Verify the system logs for processing errors.